Simple Executable
Running a 32-bit Statically Linked Executable using CheerpX
This tutorial will guide you through the process of creating a simple 32-bit statically linked Linux executable and running it in a browser using CheerpX. We’ll use Docker as an optional method to compile the executable if you’re on macOS or another system that cannot directly compile Linux executables. Additionally, we’ll configure nginx to serve the necessary files.
Prerequisites
- nginx installed on your system.
During this step-by-step example will be populate the following filesystem structure.
.├── index.html├── nginx.conf└── hello_cheerpx.c1. Write a Hello CheerpX C program
First, create a simple C program that will print “hello cheerpx”. This will be our executable to run using CheerpX.
Open hello_cheerpx.c and add the following content:
#include <stdio.h>
int main() {    printf("Hello CheerpX\n");    return 0;}
2. Compile a Statically Linked Executable
To compile the C program into a 32-bit statically linked Linux executable, you can use a standard Linux environment if available. If you’re on macOS or another system that cannot directly compile Linux executables, you can use Docker to create a suitable Linux environment. Alternatively, you can download a pre-compiled executable from here. Remember to put it in the root of your project.
In case you have a Linux environment available, the following command can be use to generate a statically linked executable from the source file above. Please note that you might need to install gcc-multilib or a similarly named package to support 32-bit compilation.
gcc -static -m32 -o hello_cheerpx hello_cheerpx.cUsing Docker to Compile (Optional)
If you cannot compile directly on your system, use Docker to create a 32-bit statically linked executable. Open your terminal, navigate to your project directory, and run the following command:
docker run --rm -v "$(pwd)":/src -w /src i386/debian bash -c "apt-get update && apt-get install -y gcc && gcc -static -m32 -o hello_cheerpx hello_cheerpx.c"Explanation:
docker run --rm: Runs a Docker container and removes it after execution.-v "$(pwd)":/src: Mounts your current directory into /src inside the container.-w /src: Sets the working directory inside the container to /src.i386/debian: Uses a 32-bit Debian image as the base.bash -c "...": Executes a series of commands inside the container.apt-get update && apt-get install -y gcc: Updates the package list and installs gcc.
3. Verify the Executable
After the compilation, verify that the hello_cheerpx file is a 32-bit statically linked ELF executable.
Run the following command in your terminal:
file hello_cheerpxThe output should be similar to:
hello_cheerpx: ELF 32-bit LSB executable, Intel 80386, version 1 (SYSV), statically linked, ...This confirms that the executable is 32-bit and statically linked.
3. Modify HTML for Running CheerpX
Let’s set up your index.html file to load CheerpX, run your executable, and include some basic styling to improve the page’s appearance.
Open index.html and add the following content:
<!doctype html><html lang="en" style="height: 100%;">  <head>    <meta charset="UTF-8" />    <title>CheerpX Simple Executable Test</title>    <script src="https://cxrtnc.leaningtech.com/1.2.2/cx.js"></script>  </head>  <body style="height: 100%; background: black;">    <pre id="console" style="height: 100%;"></pre>
    <script type="module">      // Initialize CheerpX      const cx = await CheerpX.Linux.create();      cx.setConsole(document.getElementById("console"));      // Run the compiled executable      await cx.run("/hello_cheerpx", []);    </script>  </body></html>
4. Configure nginx
Open the nginx.conf file in your project directory to configure nginx for serving the files. Here is a sample configuration:
worker_processes  1;error_log   nginx_main_error.log info;pid nginx_user.pid;daemon off;
events {    worker_connections  1024;}
http {    default_type  application/octet-stream;    access_log  nginx_access.log;    error_log   nginx_error.log info;
    sendfile        on;
    server {        listen       8080;        server_name  localhost;
        gzip on;        gzip_types application/javascript application/wasm text/plain;
        charset utf-8;
        location / {            root .;            index  index.html index.htm;            add_header 'Cross-Origin-Opener-Policy' 'same-origin' always;            add_header 'Cross-Origin-Embedder-Policy' 'require-corp' always;        }    }}
5. Start nginx
Start nginx from the project directory to serve the files on port 8080
nginx -c nginx.conf -p $PWD6. Access and Verify Output
Open your web browser and navigate to:
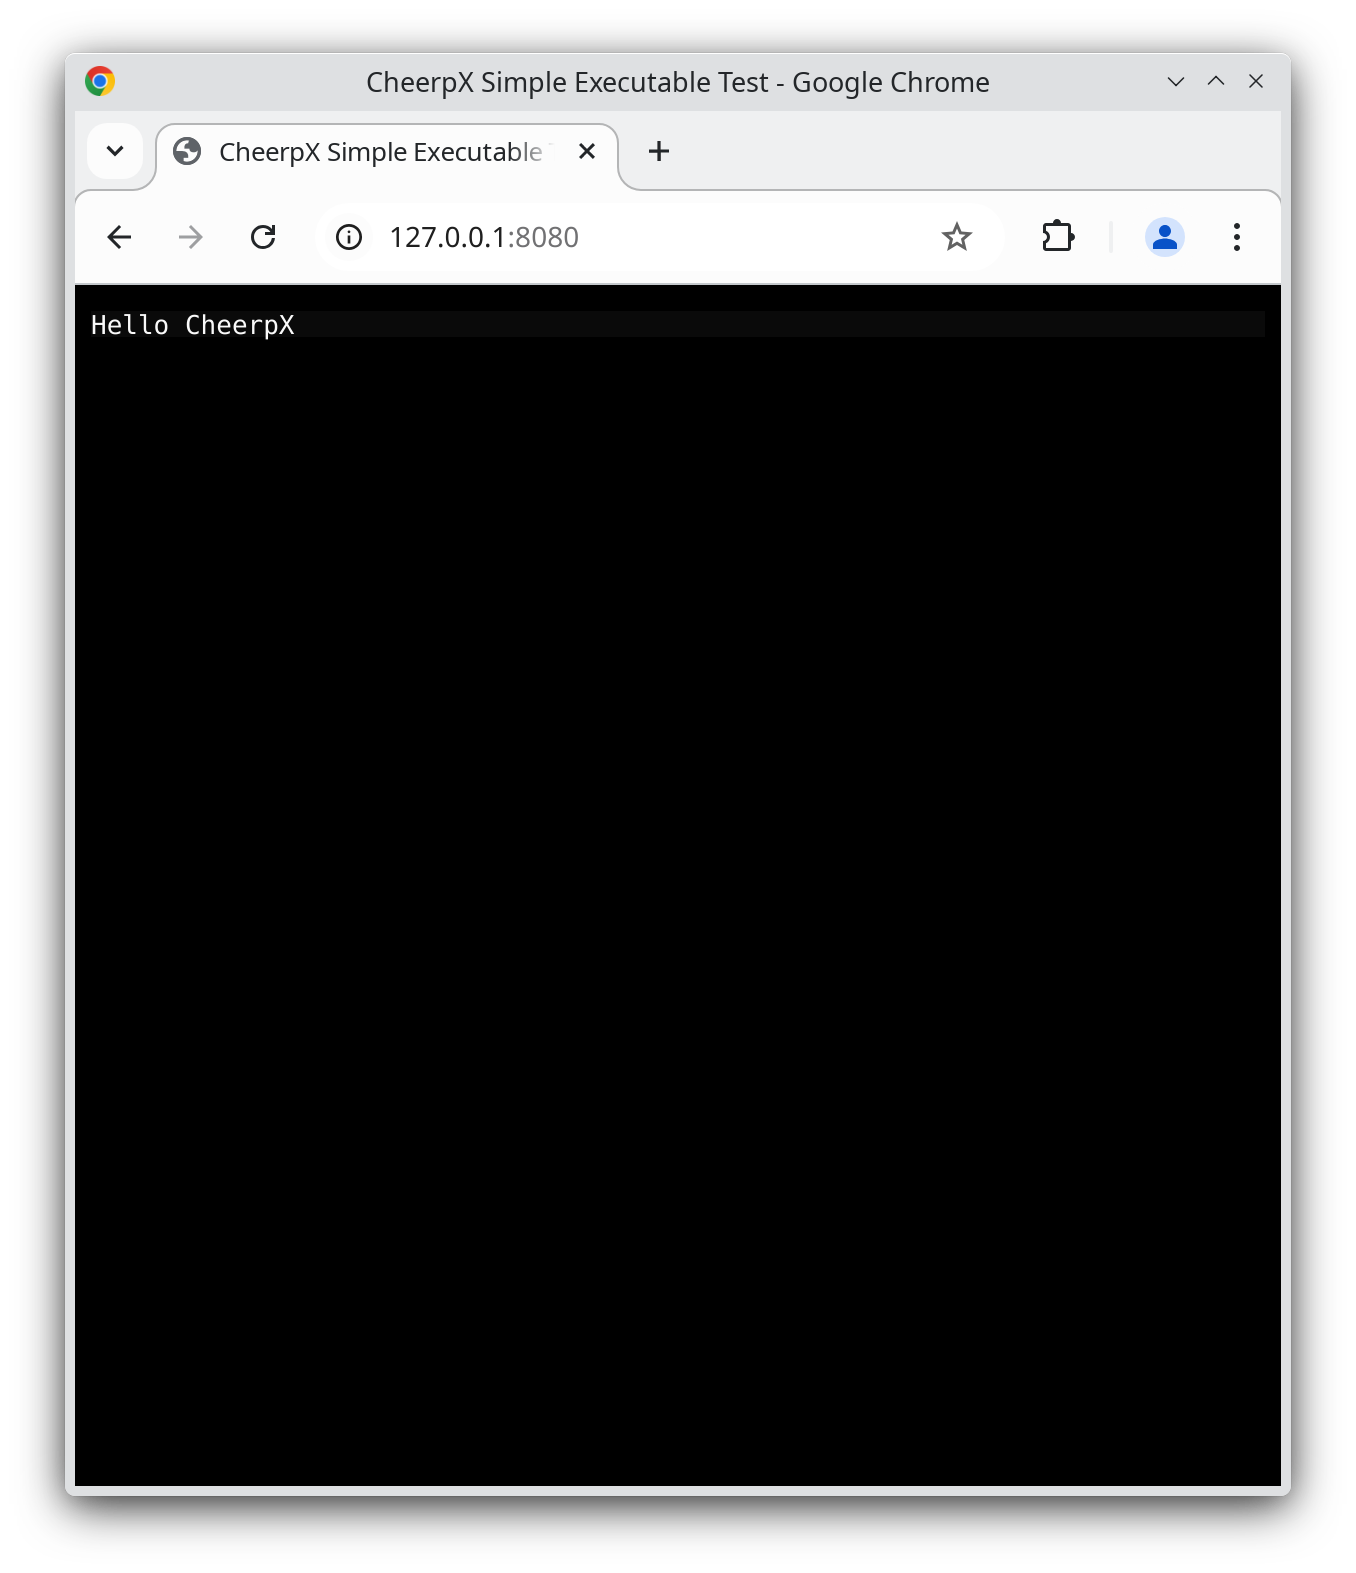
http://localhost:8080You should see similar to this:

This means that your 32-bit statically linked executable has successfully run within CheerpX in your browser!